

- File damp skin, not soaked skin. Soak feet for ten minutes maximum. Pat feet until towel-damp before filing to prevent tears.
- Ban razor blades and scrapers. Cutting calluses with Credo blades causes deep lacerations, bleeding, and serious bacterial infections.
- Push cuticles, never clip them. Cutting the eponychium destroys the waterproof barrier of the nail and invites acute paronychia.
- Cut nails straight across. Trimming toenails in a curve causes painful ingrown toenails (onychocryptosis).
- Use urea for daily maintenance. Creams with 20% to 40% urea dissolve dead keratin bonds without mechanical friction.
- Sanitize metal after each use. Wash tools with soap, dry them, and submerge them in 70% isopropyl alcohol for 20 minutes.
The Biomechanics of Plantar Skin: Why Feet Form Thick Calluses
The skin on your soles is anatomically distinct from skin on your face or body. Skin on the sole is a specialized thick skin. It carries your full body weight. It possesses five distinct epidermal tiers rather than four. These tiers are the stratum basale, stratum spinosum, stratum granulosum, stratum lucidum, and stratum corneum.
The stratum lucidum is a clear, translucent sub-layer found only on the soles and palms. It consists of flattened, dead keratinocytes packed with eleidin, an intermediate transformation product of keratohyalin. While facial stratum corneum contains only 10 to 15 layers of corneocytes, plantar stratum corneum contains 40 to 50 compact layers. This tough outer layer often exceeds 1.0 to 1.5 millimeters in baseline thickness.
Calluses form through mechanical adaptation. When your foot strikes the ground, it encounters two distinct physical forces. Normal vertical stress compresses tissue downward. Shear stress acts parallel to the epidermal surface as bones move inside shoes. Biomechanical research shows that shear stress drives hyperkeratosis, which is the medical term for skin thickening. Frictional rubbing signals basal keratinocytes to release inflammatory cytokines, including interleukin-1 alpha and epidermal growth factor. These signals accelerate basal cell division and delay natural shedding. A dense, tough shield of dead skin builds on high-friction areas like heels and metatarsal heads.
A callus (tyloma) is a broad, flat plaque of thickened skin with undefined edges. It spreads across wide surfaces to absorb friction. A corn (heloma) is a small, circumscribed plug of hard keratin over a bony point. Its cone points inward, into the sensory nerve endings. Direct pressure therefore hurts sharply.
A callus begins as a protective shield. When it exceeds 2 millimeters in thickness, it hardens into an unyielding mass. The hard callus acts mechanically like a stone wedged beneath the foot. Clinical studies show that removing dense calluses lowers peak dynamic plantar pressures by 26% to 30%. Routine reduction protects deeper tissue from localized ischemia and skin breakdown.
Physical Abrasion vs Chemical Softening: How Callus Removers Work
An effective callus remover for feet reduces compacted dead skin without injuring the underlying dermal layers. Modern foot care relies on two complementary mechanisms: physical abrasion and chemical keratolytics.
Physical abrasive tools include stainless steel rasps, etched nano-glass files, and motorized rotary devices. These instruments work through mechanical shear. The raised abrasive edges slide across the stratum corneum, shearing away dried, cross-linked keratin flakes. A manual foot file gives the user complete control over stroke speed and pressure. An electric callus remover spins an abrasive mineral cylinder at 1,500 to 2,500 revolutions per minute. The high rotational speed reduces dense heel plaques with minimal hand effort.
Electric rollers create friction heat during operation. If you hold an electric roller on one spot for longer than three seconds, surface temperatures can exceed 44°C. This thermal spike triggers pain receptors in the dermis and can cause friction blisters or rebound inflammation. Always sweep electric rollers continuously across the skin. Apply light pressure for no more than two to three seconds per pass.
Chemical keratolytics soften thickened tissue through molecular disruption. High-concentration urea (20% to 40%) acts as an effective chemical agent. At low concentrations, urea acts as a humectant that draws water into cells. At concentrations above 20%, urea denatures the alpha-helical structure of keratin. It dissolves corneodesmosomes, which are the protein rivets holding dead corneocytes together. Applying a high-strength urea cream allows softened skin to slough off naturally during bathing without cutting.
What Belongs in a Pedicure Kit at Home
Building an at-home kit requires curating individual, high-grade instruments. Pre-packaged novelty kits often contain low-grade stamped metals that bend, rust, and harbor microbes. Assemble your pedicure kit using durable surgical-grade materials that tolerate routine chemical disinfection.
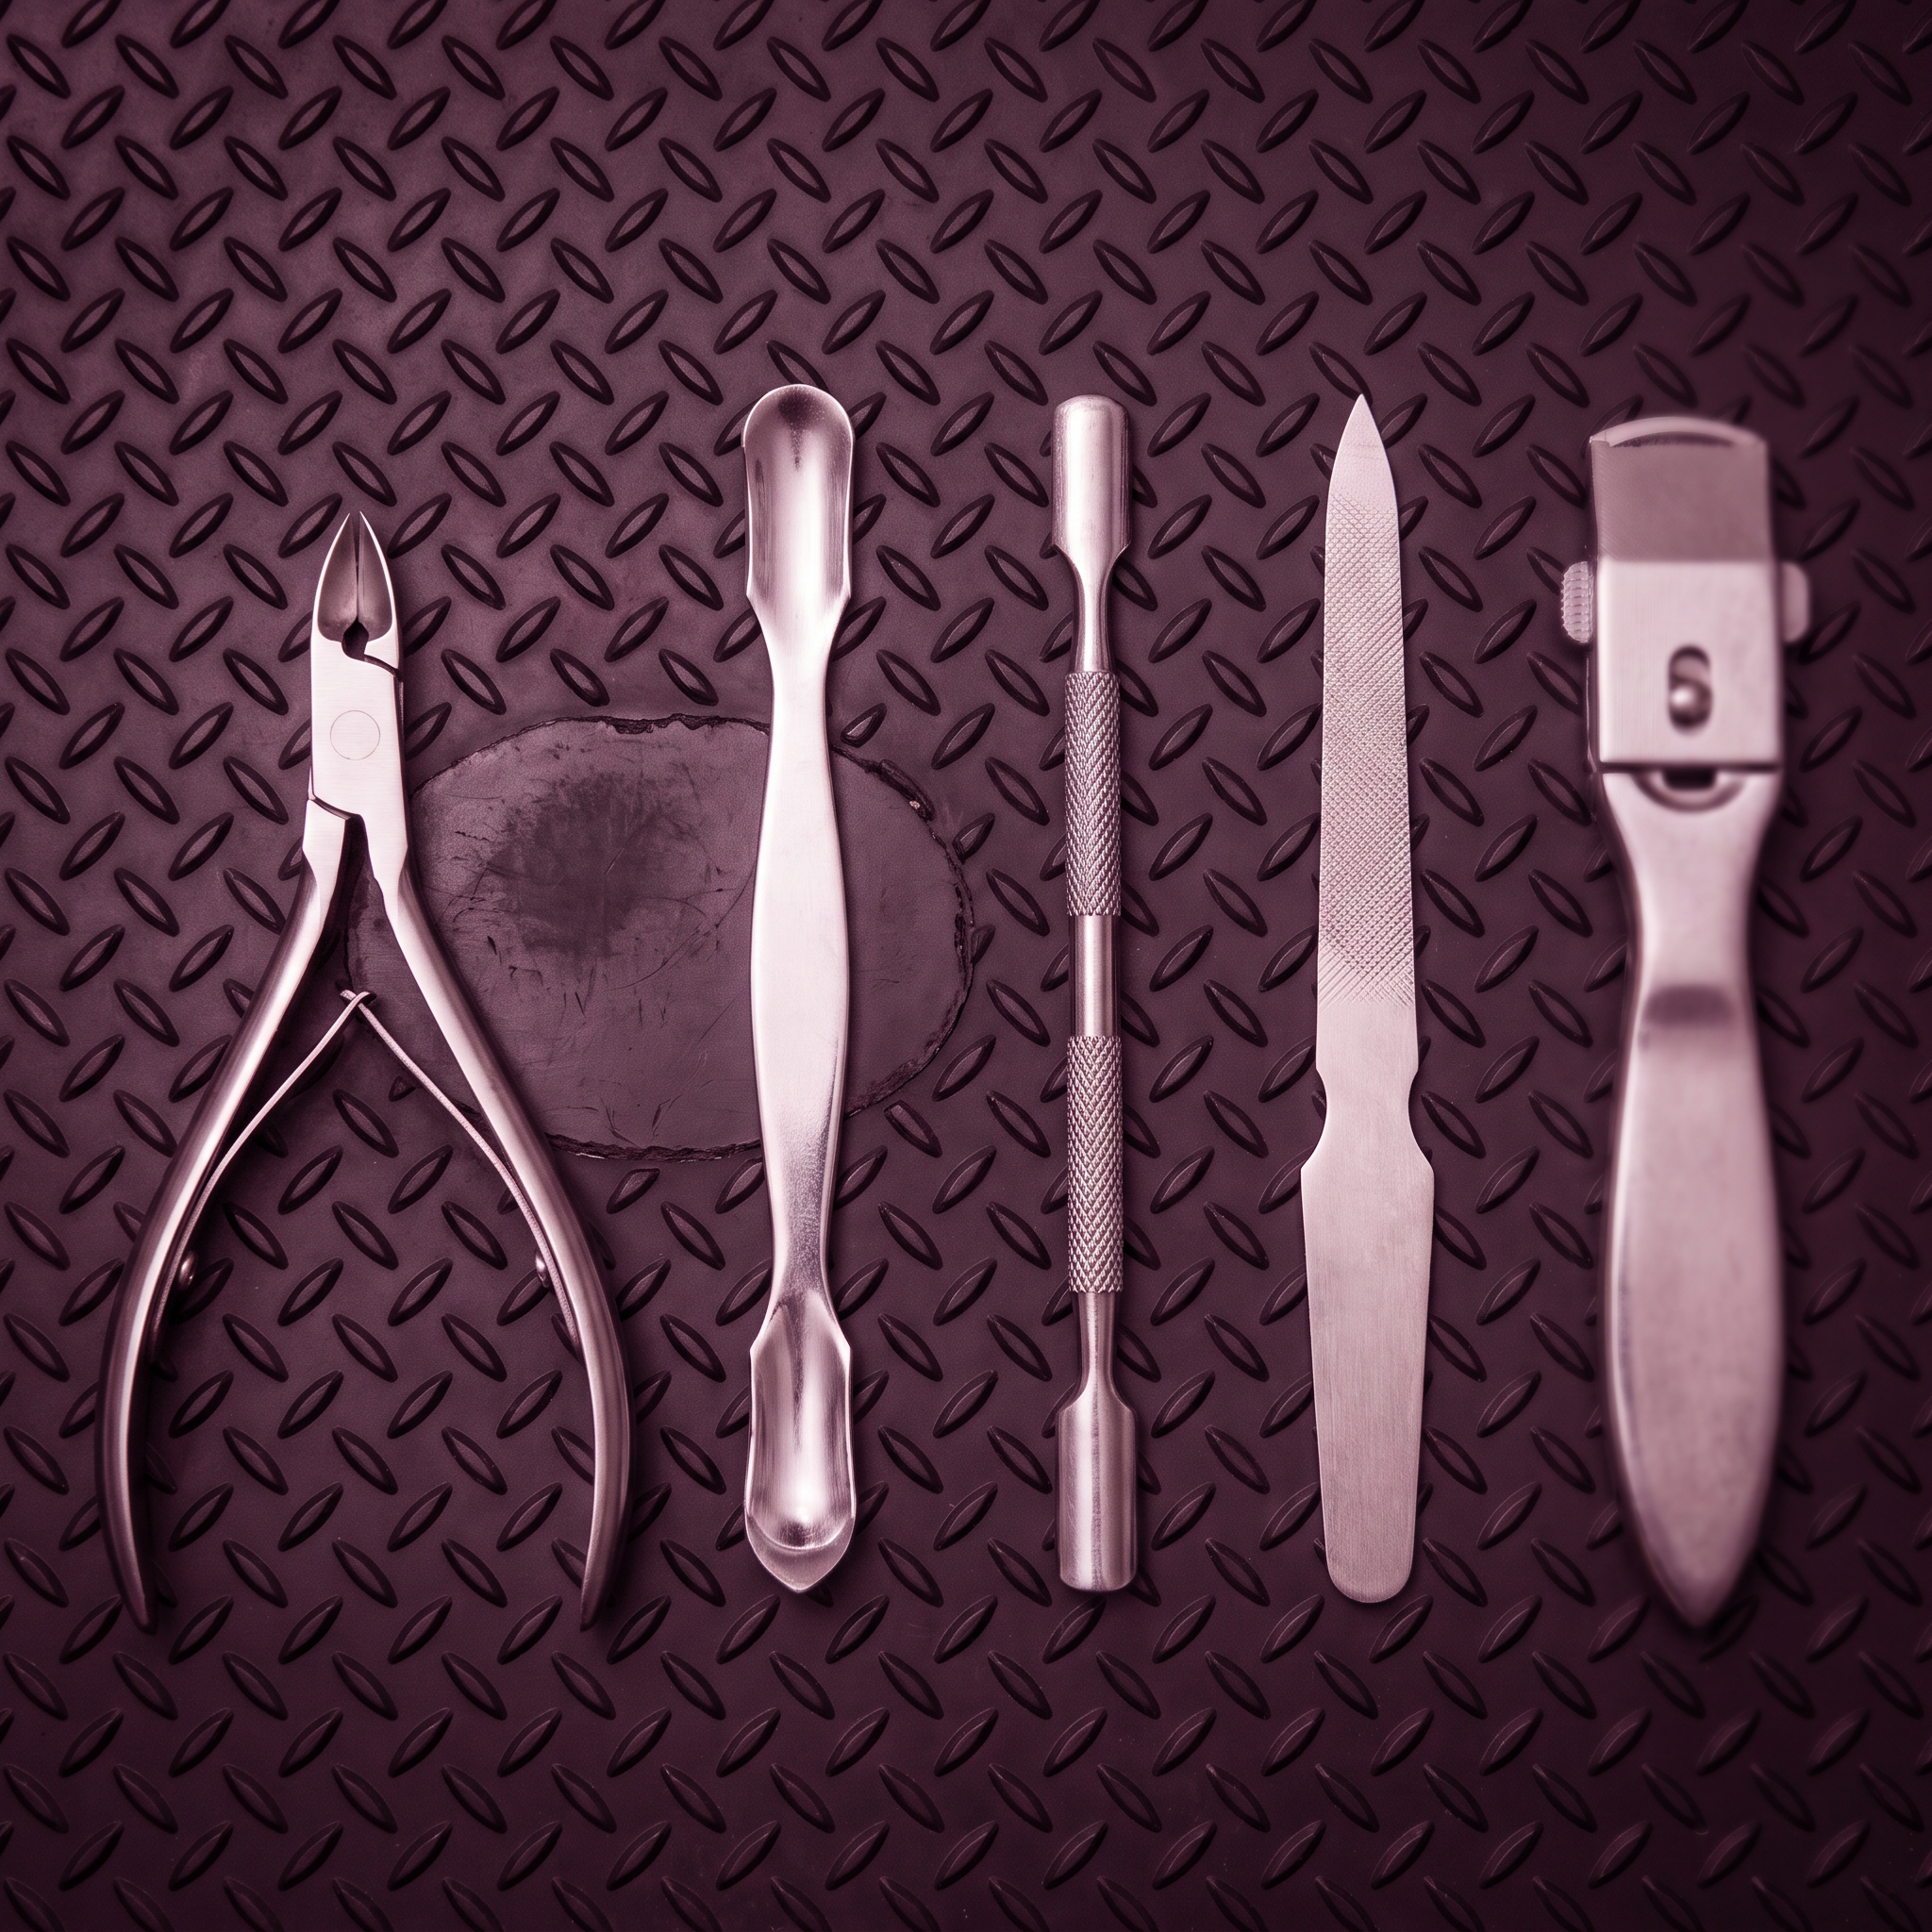
When selecting your collection of pedicure tools, focus on five essential hardware categories:
- Heavy-Duty Toenail Nippers. Toenails are thick, rigid keratin plates. Standard fingernail clippers crush and splinter the nail. Precision toenail nippers use hardened martensitic stainless steel and calibrated handles to cut cleanly through tough nail plates.
- Dual-Action Stainless Steel Foot File. A professional foot file features two distinct grits. The coarse face (80 to 120 grit) reduces thick hyperkeratotic heel plaques. The medium face (180 to 240 grit) buffs away rough ridges to leave skin uniform.
- Dual-Ended Cuticle Pusher. A medical-grade cuticle pusher features a spoon-shaped contour at one end and a blunt curette at the other. It lifts non-viable dead pterygium off the nail plate without scratching dorsal onychocytes.
- Rotary Electric Callus Remover. An electric callus remover powered by a rechargeable battery speeds up monthly heel maintenance. Look for models with pressure-sensitive safety cut-offs that stall the motor if you press too hard.
- Precision Nail Buffer. A multi-step nail buffer smooths surface ridges and creates natural shine. Because aggressive buffing thins the dorsal nail plate, reserve this tool for light, monthly maintenance.
Just as precision facial devices require careful handling in our guide to the best facial tools, pedicure instruments demand respect for epidermal boundaries. Foot tools operate on thick tissue, but aggressive use causes lasting structural trauma.
Never use whirlpool foot spas with internal pipes. Circulating jets trap skin fragments and oils, growing thick bacterial biofilms. Standard disinfectant rinses cannot clean these pipes. Choose a smooth, non-porous pedicure bowl made of stainless steel, ceramic, or thick resin that you can scrub and sanitize after every session.
The Danger of Razor Blades and Bathroom Surgery
Many drugstore aisles sell Credo blades, razor scrapers, and corn planes. Medical literature and podiatric boards strictly advise against these cutting devices. Using razor blades on your own feet poses severe dermatological hazards.
A Credo plane holds an exposed surgical razor blade set inside a curved guard. It cuts skin through direct manual shear force. However, your hands cannot gauge cutting depth across the curved, uneven contours of the heel. The razor blade frequently cuts past dead stratum corneum, slicing into the stratum spinosum and vascular papillary dermis.
This blade trauma causes immediate capillary bleeding and creates an open portal for pathogens. Podiatrists routinely treat deep heel lacerations and acute staphylococcus aureus cellulitis caused by home blade use. For individuals with diabetes or poor peripheral circulation, a single razor slip can initiate a chronic, non-healing ulcer that threatens the lower limb. Discard all cutting blades from your home kit.
Safe Tool Sequence: The Six-Step Clinical Routine
Using pedicure tools in the wrong order can damage delicate skin and cause painful infections. Follow this six-step clinical sequence for safe, consistent results.
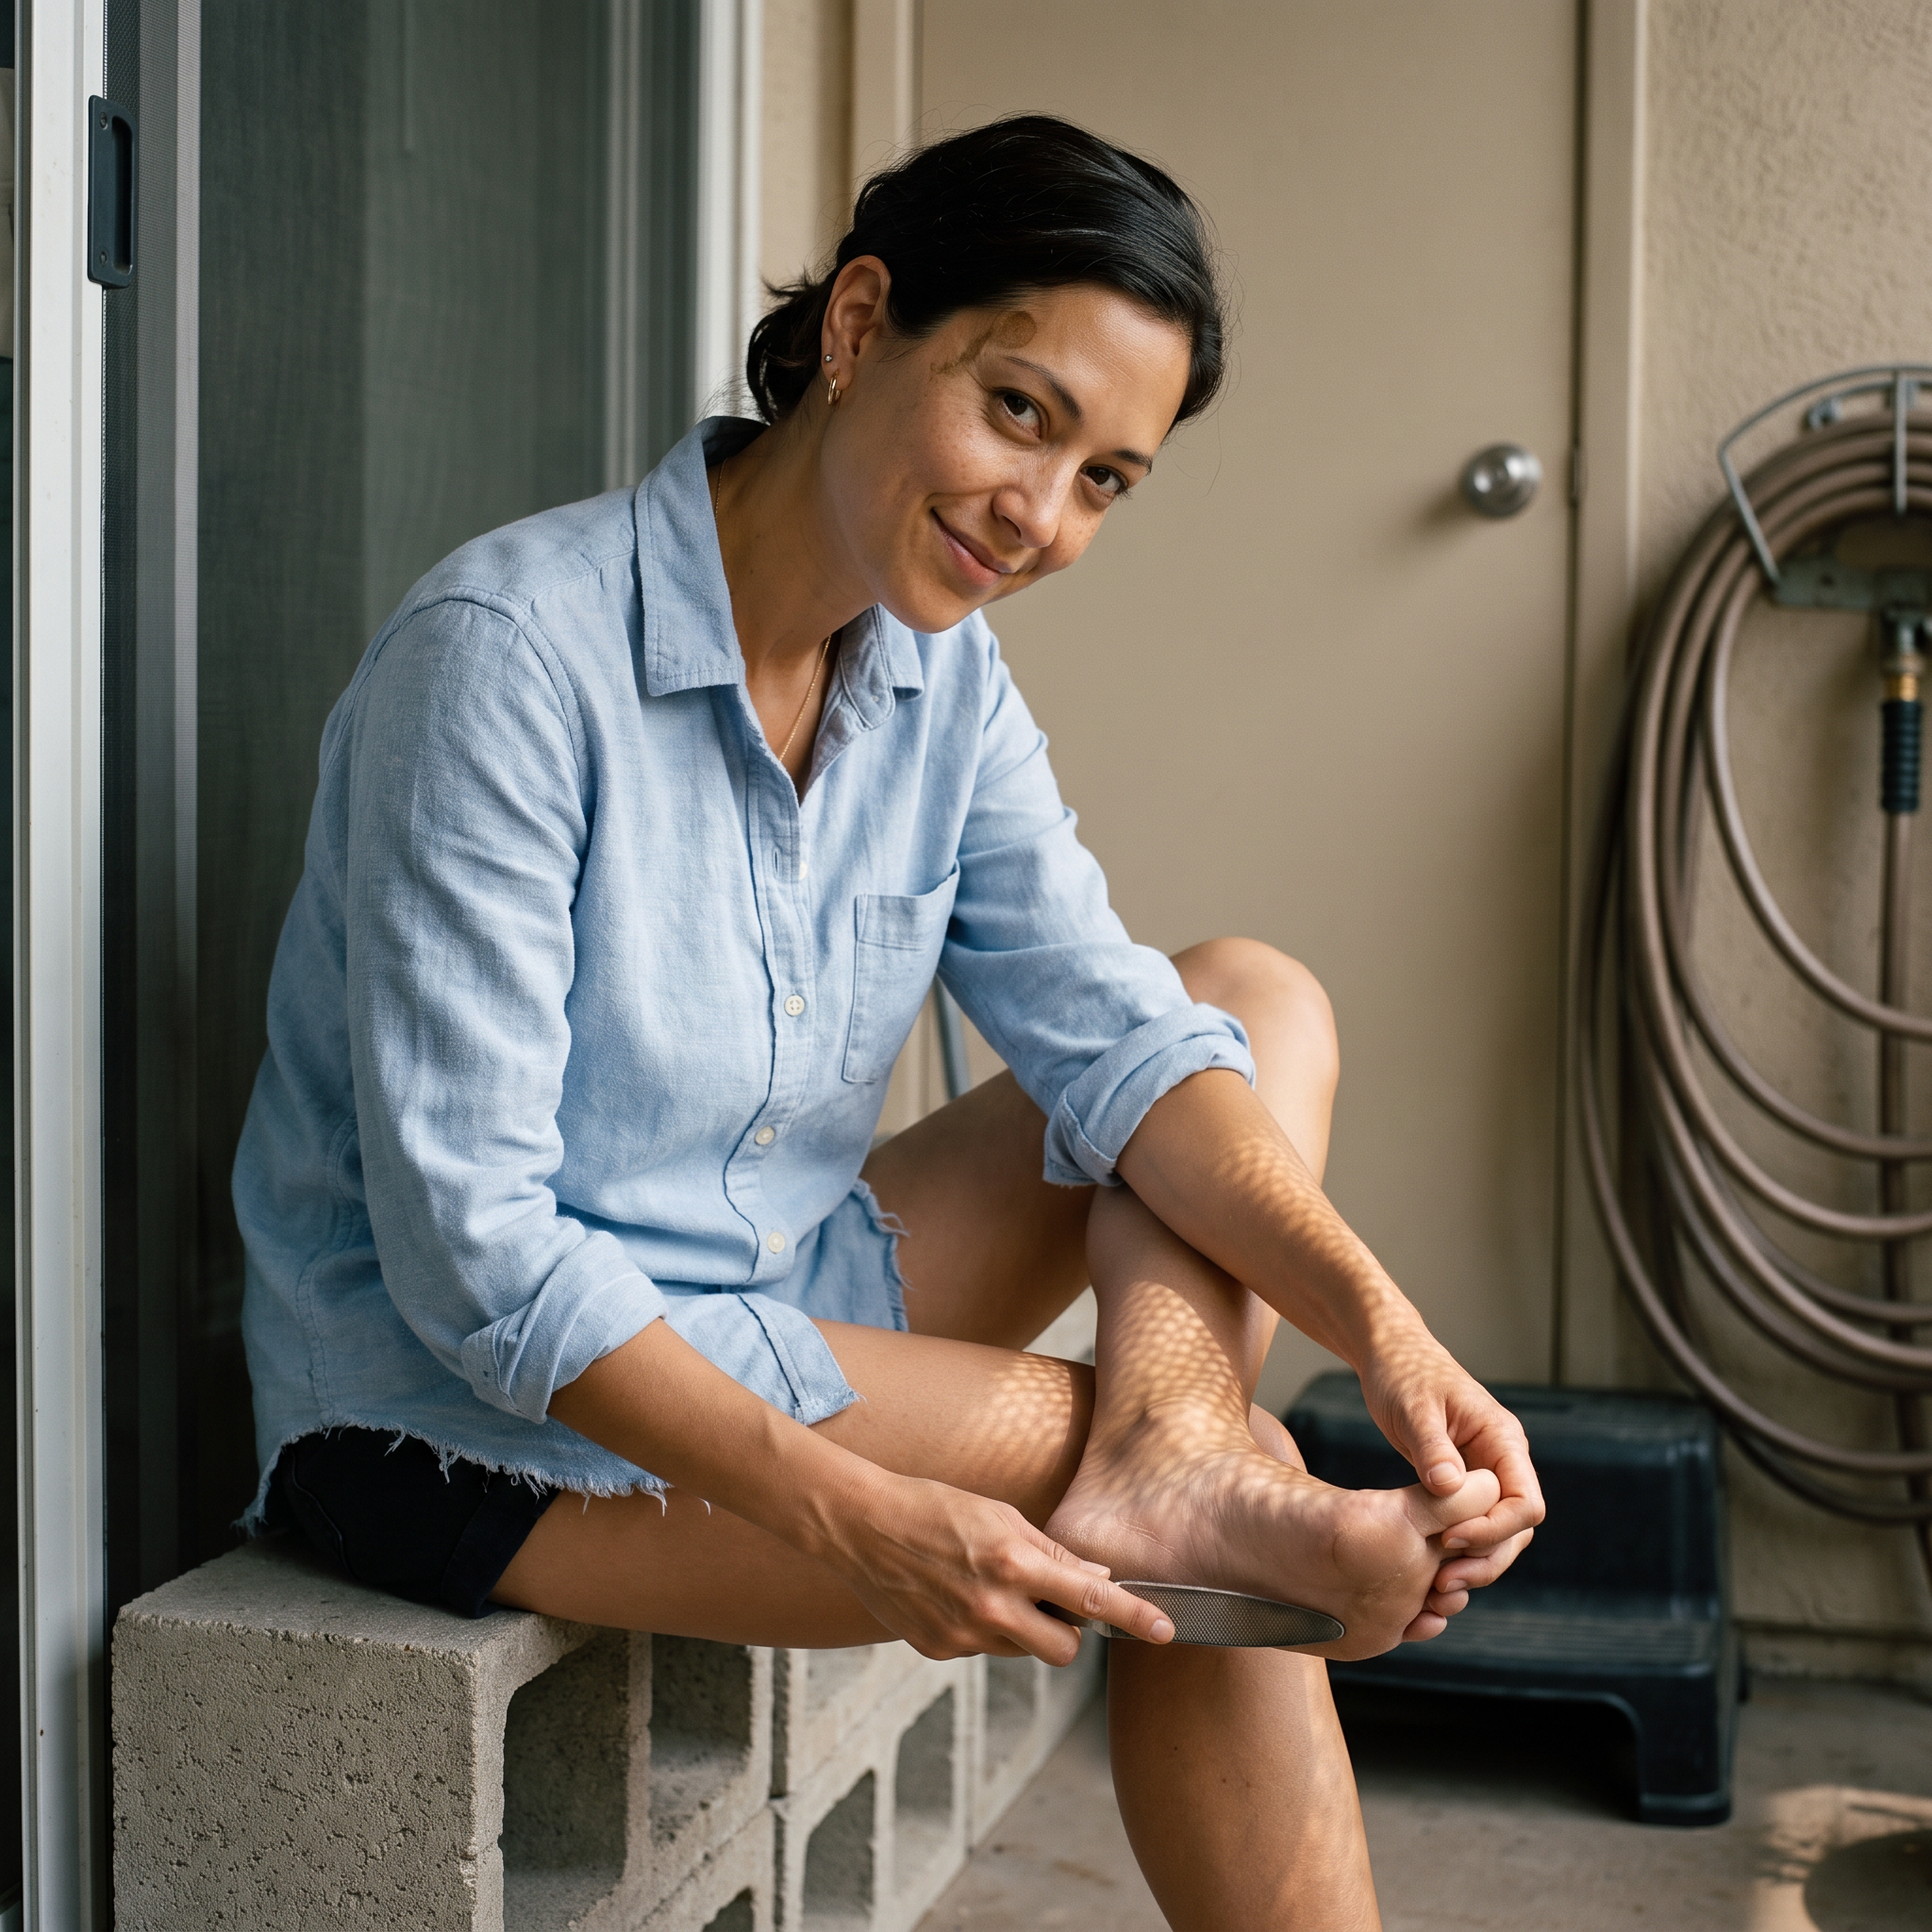
Step 1: Controlled Cleansing and Hydration
Begin with a relaxing foot soak in lukewarm water (37°C to 40°C) for 8 to 10 minutes. Warm water softens rigid keratin by hydrating hydrogen bonds between protein filaments. Adding magnesium sulfate (Epsom salt) helps cleanse the skin surface and loosen dried cellular debris.
Keep your soak under 15 minutes. Soaking feet for longer than 15 to 20 minutes causes skin maceration. Maceration occurs when excessive water enters corneocytes, disrupting intercellular lipid bilayers. Overhydrated skin swells unevenly and obscures the boundary between dead callus and living tissue. Tribological studies demonstrate that soggy skin has twice the surface friction of dry skin. Filing waterlogged skin causes the file to snag, tearing away living tissue in ragged strips.
Step 2: Mechanical Callus Reduction
Lift your feet from the pedicure bowl and pat them thoroughly with a clean towel. Skin must be towel-damp, never dripping wet. Hold your manual foot file or electric tool against the callused heel. Work in gentle, unidirectional strokes across the thickened plaque. Avoid aggressive back-and-forth sawing, which creates friction heat and micro-fissures.
Check the skin frequently to assess your stopping boundary. Calluses appear opaque, yellow, or chalky white. Stop filing immediately once the skin appears uniform and turns light pink. A pink hue reveals that you have reached the upper boundary of the vascular dermis. Stop filing immediately if you feel tenderness, heat, or stinging.
Step 3: Exfoliation of Thin Skin
After reducing thick heel plaques, apply an emollient foot scrub containing fine sugar or milled pumice granules. Massage the scrub across the dorsal skin on top of the foot, around the ankles, and along the arch for one to two minutes. This step buffs away loose dead flakes from thin skin areas that cannot tolerate heavy files. Rinse thoroughly with clean water and towel-dry. If you use whole-body physical scrubs, read our protocol on exfoliating gloves to match your tool grit to your skin thickness.
Step 4: Straight-Across Toenail Trimming
Trim toenails using heavy-duty stainless steel nippers. Always cut toenails straight across, following the natural distal line of the toe. Never round the corners or dig down into the lateral nail folds.
Rounding toenails cuts the nail edge behind the surrounding skin wall. As the nail plate grows forward, the sharp corner acts like a chisel. It pierces the soft tissue of the lateral nail groove under walking pressure. This penetration triggers painful inflammation, granulation tissue, and bacterial infection known as onychocryptosis (an ingrown toenail). Leave the corners visible above the skin fold. Use a fine-grit emery file (180/240 grit) to smooth rough edges.
Step 5: Non-Invasive Cuticle Care
Apply a drop of nourishing oil or cuticle remover to the base of each nail plate. Take your stainless steel cuticle pusher and hold it at a 45-degree angle flat against the nail surface. Gently guide the curved edge toward the base of the nail, lifting and clearing shed dead cuticle flakes from the nail plate.
Understand the critical anatomical difference between the eponychium and the cuticle. The eponychium is the living fold of skin at the proximal base of the nail. It forms a waterproof seal protecting the underlying germinative matrix. The cuticle is non-living dead stratum corneum shed onto the nail plate. Never cut, clip, or slice the living eponychium with nippers. A cut through that living fold breaks the seal. It opens a direct route for candida and staphylococcus that cause painful paronychia. Use nippers exclusively to snip loose, detached hangnails on the lateral skin walls.
Step 6: Barrier Hydration and Keratolytic Sealing
Finish your routine by applying a therapeutic foot cream containing 20% urea, ceramides, and squalane. Massage the emulsion thoroughly into the heels, soles, and nail margins. The urea dissolves lingering micro-ridges while ceramides repair lipid bilayers disrupted during washing. Put on a pair of clean, breathable cotton socks for 30 minutes to seal moisture into the stratum corneum. Body hair removal regimens around the legs require similar post-treatment moisture barrier care, as explained in our review of a complete sugar wax kit.
The Verified Edit: Three Essential Pedicure Tools
We evaluated dozens of specialized foot tools across mechanical durability, metallurgical purity, ease of disinfection, and safety cut-offs. These three instruments represent the gold standard for an effective at-home foot care regimen.
Own Harmony Electric Foot Callus Remover – Rechargeable Pedicure File Tool
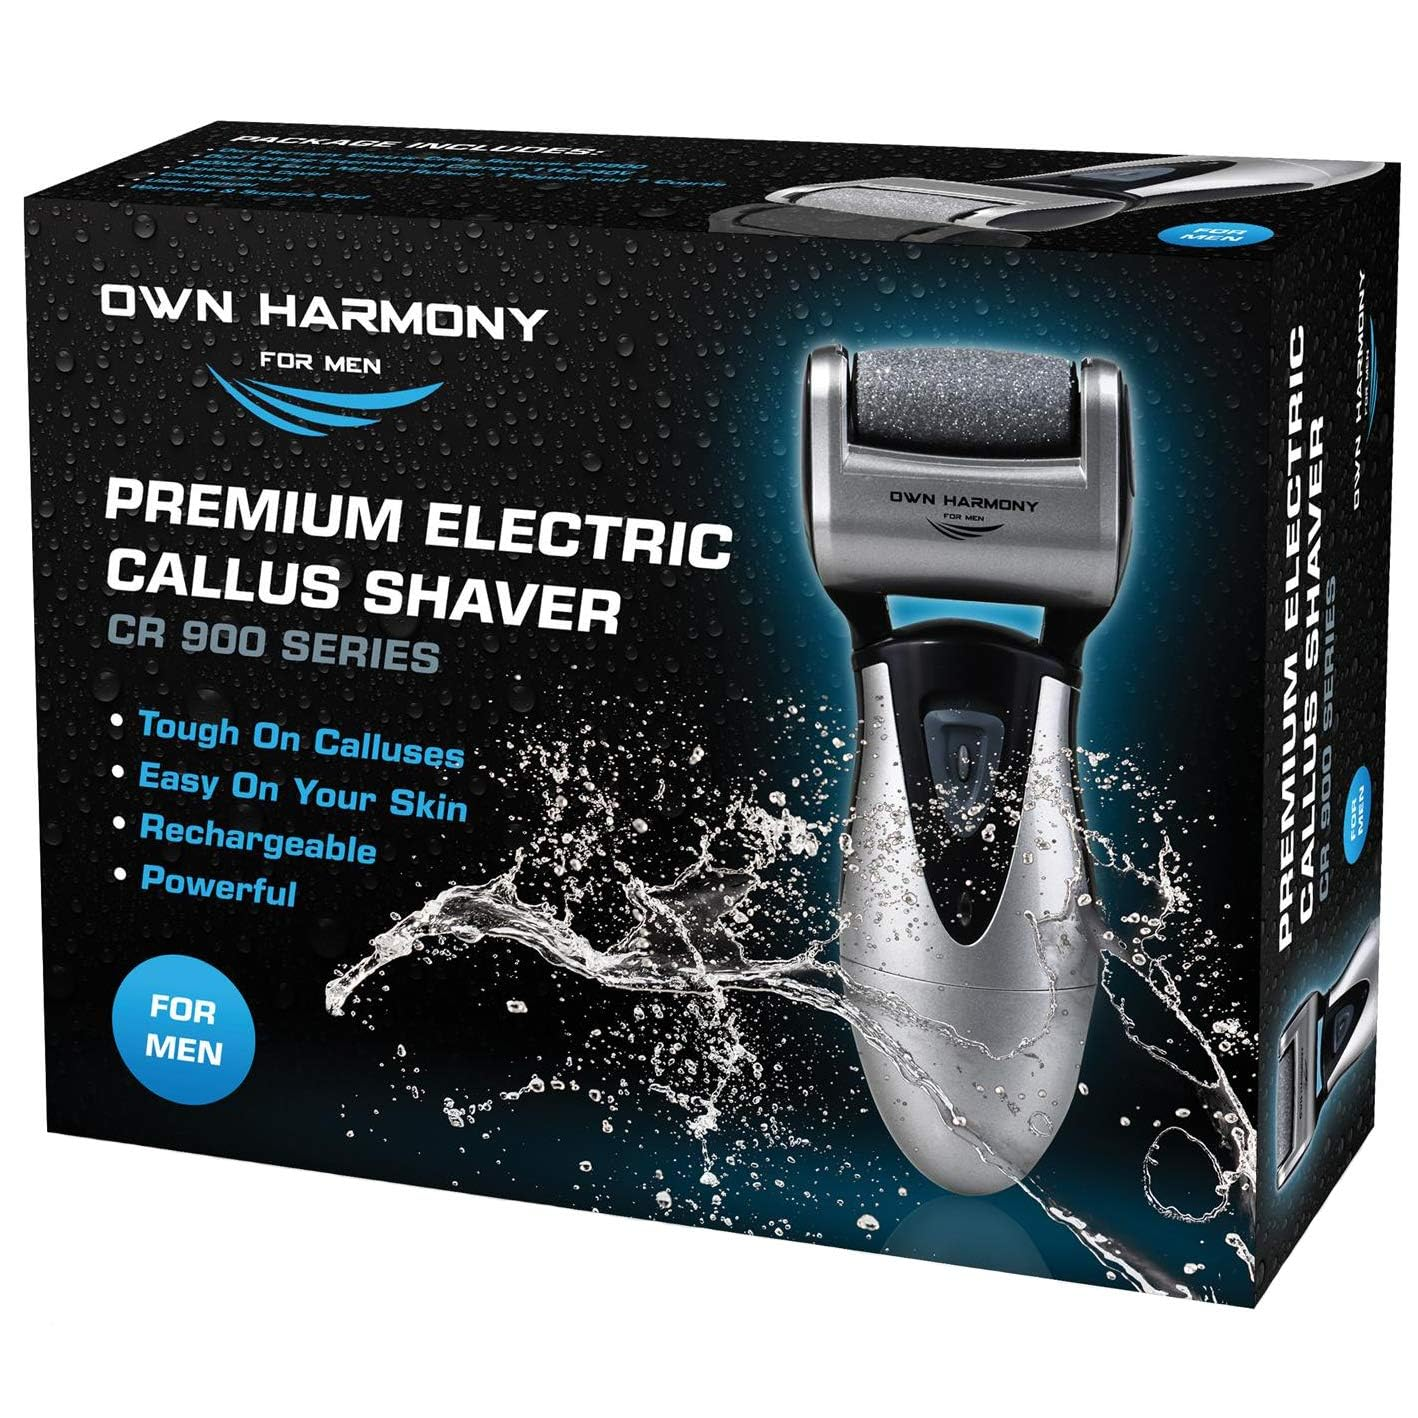
A powered rasp does the work a manual file asks of your shoulder. The head spins against the sole, so you glide rather than press, and the crystal discs rinse clean afterwards.
Avery, Beautyisles Editorial Producer
- Three coarse heads rotate through a full treatment
- Pressure-adaptive head reduces the risk of grinding one spot too deep
- Dual-voltage charging works on travel adapters
- Coarse discs remove skin quickly, so keep each pass short
- Rechargeable cells fade after a couple of years of heavy use
Rikans Colossal Foot File, Professional Foot Rasp Callus Remover, Foot Care Pedicure Tool to Remove Hard Skin,Can Be Used on Wet or Dry Skin, High Grade Stainless Steel File (Foot File Set)
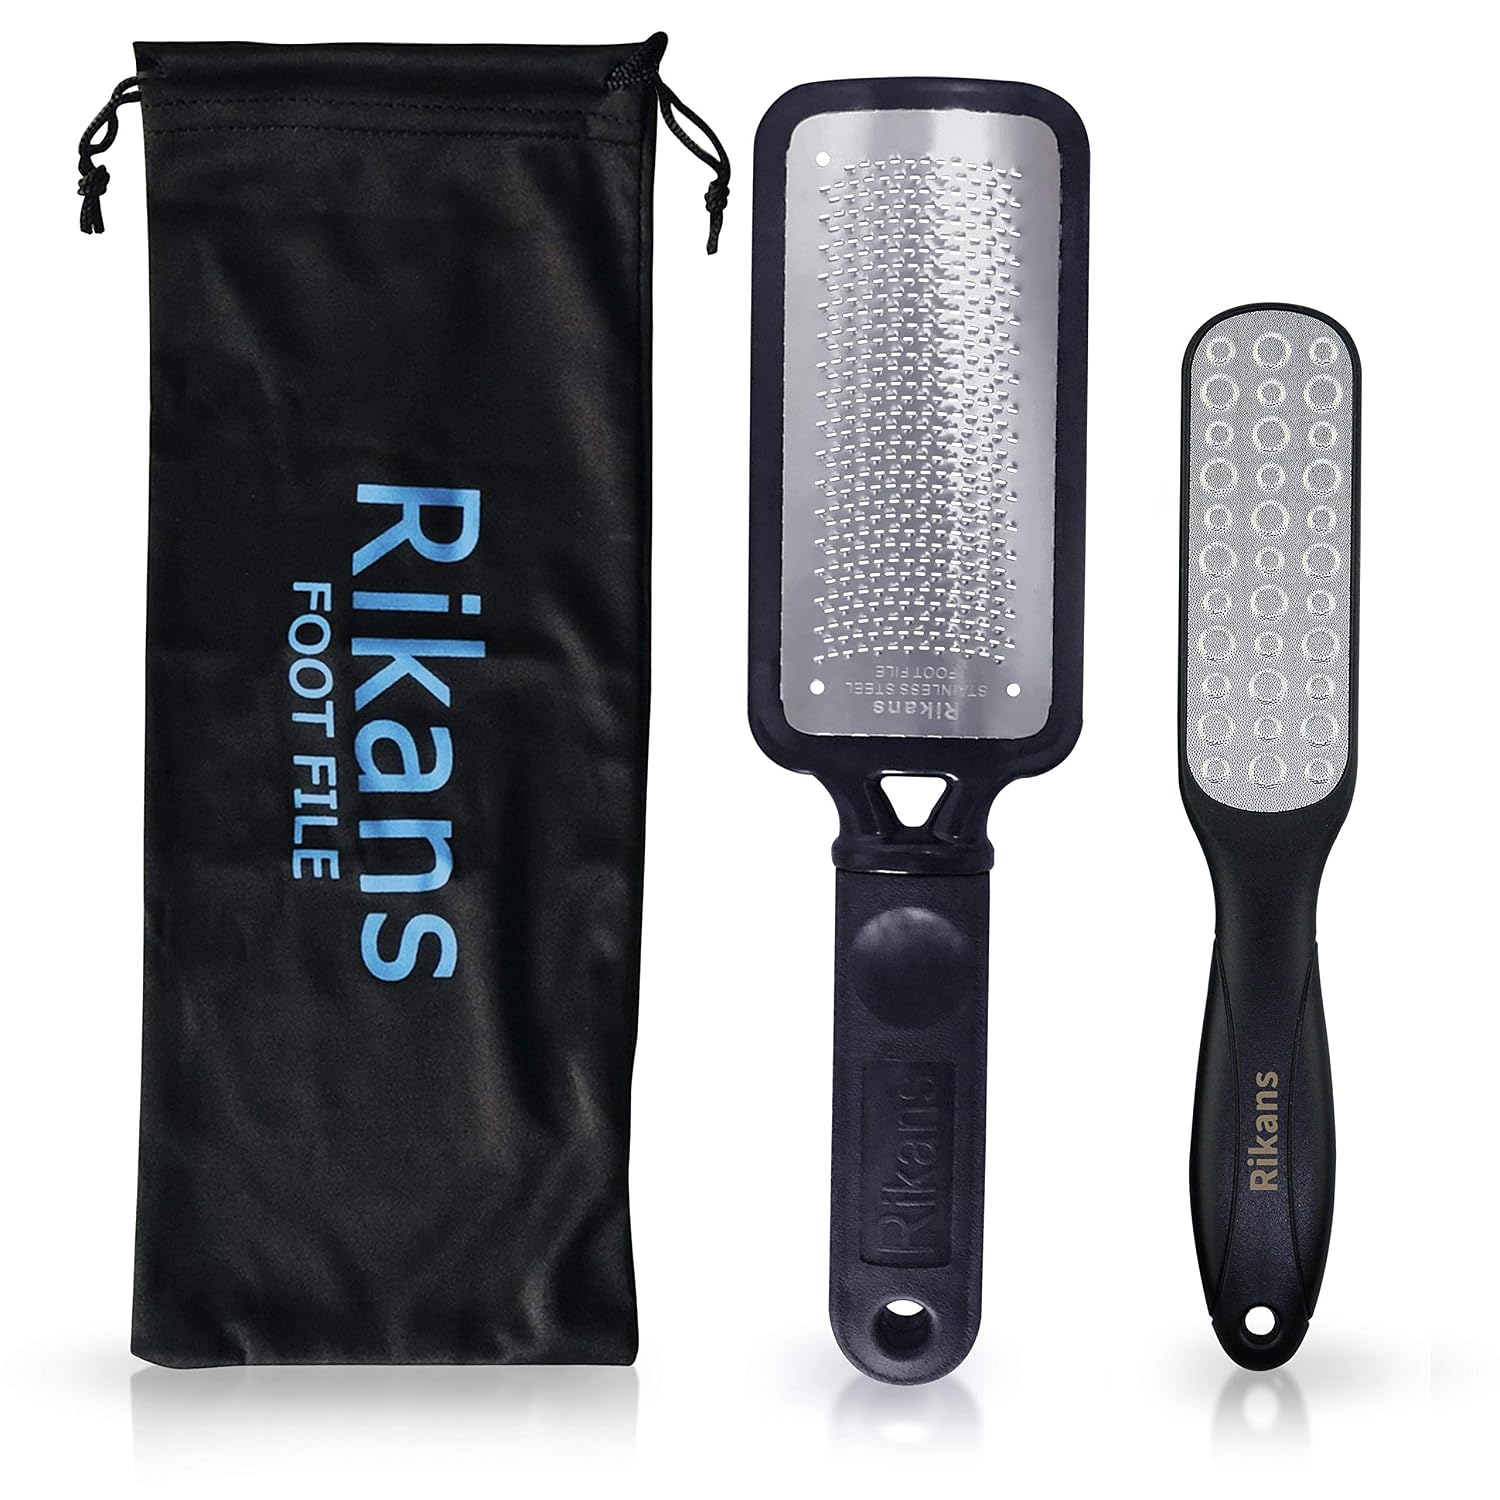
A large hand rasp with enough surface to clear a heel in a few strokes. It works on dry skin or in the shower, and it needs no charging, no blades and no replacement discs.
Avery, Beautyisles Editorial Producer
- Broad file covers more of the heel per pass
- Effective on dry skin, so you can skip the soak
- No motor, so nothing to charge or replace
- Manual pressure does the work, which tires the wrist
- Keratin dust falls off the file and needs rinsing after use
GERMANIKURE Standard Cuticle Trimmer, 1/2 Jaw Nipper, Leather Case
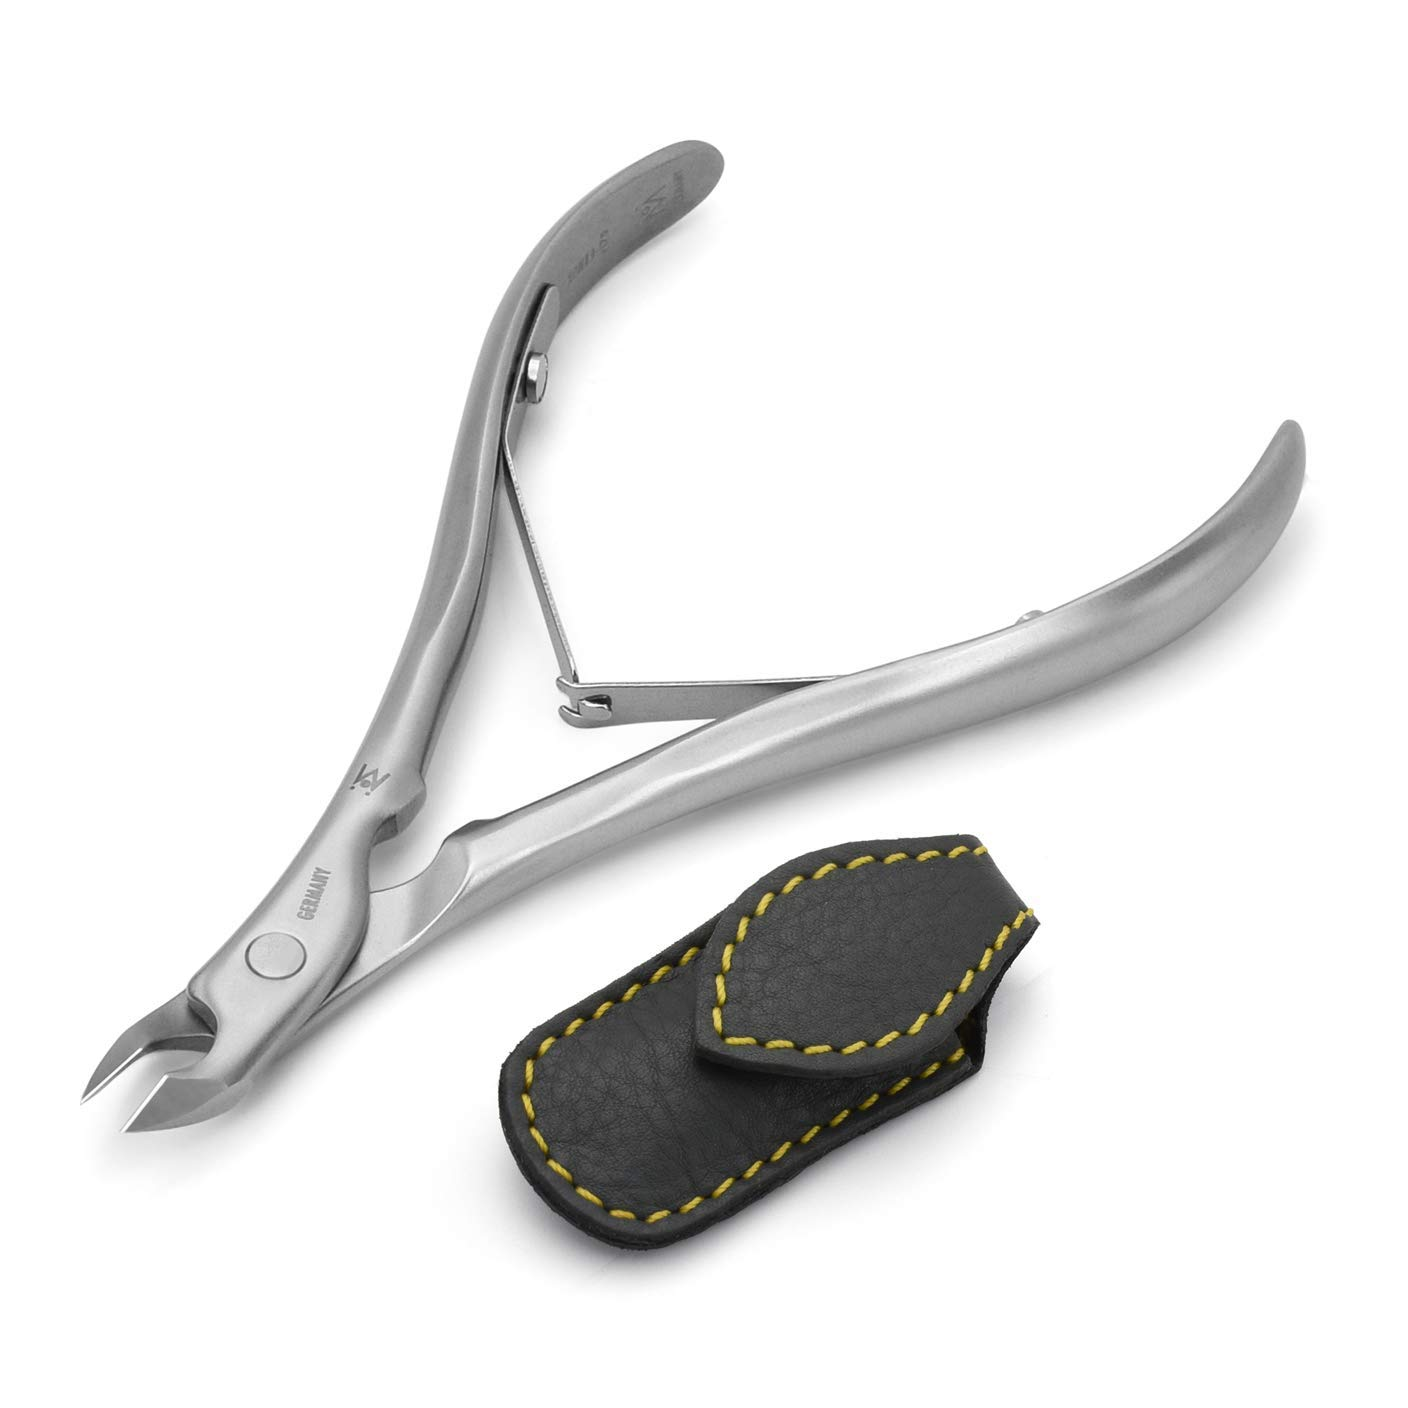
A half-jaw nipper cuts a thin line of lifted cuticle without grabbing the fold beside it. Hand-forged Solingen steel holds that edge far longer than a stamped drugstore tool.
Avery, Beautyisles Editorial Producer
- Short jaw gives control in the corner of each nail
- Hybrid steel combines edge retention with rust resistance
- A hairline gap at the blade shows it was filed, not pressed
- A sharp nipper cuts living tissue if you clip down onto the bed
- Carbon steel needs drying after a wet manicure
Comparison Table: Specifications and Clinical Performance
Compare the engineering specifications, materials, and target treatment zones for our three tested pedicure tools.
| Tool Name | Category | Material / Specs | Action Mechanism | Best For | Pricing |
|---|---|---|---|---|---|
| Own Harmony Electric Callus Remover | Powered file | Rechargeable body with three micro-mineral crystal heads | Motorised rotary rasp with adaptive pressure | Broad heel contours and routine maintenance | Check Price → |
| Rikans Colossal Foot File | Manual rasp | Stainless rasping paddle with a long handle | Hand-driven cutting on dry or wet skin | Dense hyperkeratotic plaques and severe heel crust | Check Price → |
| GERMANIKURE Half-Jaw Nipper | Cuticle nipper | High-carbon stainless steel, half jaw, leather case | Hand-sharpened shear cut with a spring return | Hangnail trimming and lateral groove debris | Check Price → |
Sanitation and Disinfection: Preventing Pathogen Transmission
Reusable metal tools come into contact with skin fragments, perspiration, natural oils, and subungual debris. If not sanitized thoroughly, instruments can transmit fungal pathogens like trichophyton rubrum, bacterial strains like MRSA, and human papillomavirus (the cause of plantar warts).
Clinical standards distinguish between three hygiene tiers: sanitization, high-level disinfection, and sterilization. Commercial salons often use low-level chemical wipes that kill vegetative bacteria but leave fungal and bacterial spores unharmed. Medical clinics use Class B steam autoclaves operating at 134°C under high pressure. For at-home foot care, follow this four-step hospital-grade disinfection protocol:
- Mechanical Washing. Immediately after finishing your pedicure, scrub all metal instruments with warm water, an antibacterial soap, and a stiff nylon brush. Scrubbing removes dried organic crusts. Disinfectants cannot penetrate tools covered in biological residue.
- Rinsing and Drying. Rinse all soap residue under running water. Dry tools completely with a clean lint-free towel. Trapped moisture dilutes the disinfectant bath.
- Chemical Submersion. Submerge metal tools in a clean container filled with 70% isopropyl alcohol for 20 minutes. Ensure the solution covers all joints and cutting edges completely.
- Dry Storage. Remove tools with clean hands, allow them to air-dry on a paper towel, and store them in a clean, ventilated case. Never store metal tools inside damp plastic bags.
Many assume higher alcohol concentrations disinfect faster. In reality, pure 90% to 99% isopropyl alcohol evaporates too quickly. It instantly coagulates the outer protein coat of bacterial cells, forming a protective shell that shields internal pathogens. A 70% alcohol solution contains 30% purified water. This water content slows evaporation, allows the alcohol to penetrate the cell wall, and denatures internal bacterial enzymes completely.
Never share porous tools like pumice stones, wooden orange sticks, or cardboard emery files with other household members. Porous materials absorb water and trap fungal spores deep inside micro-cavities. Discard and replace porous items regularly.
Clinical Contraindications: Diabetes, Neuropathy, and High-Risk Feet
At-home mechanical foot care is not suitable for everyone. Certain medical conditions require podiatric debridement in a clinical environment rather than self-treatment.
Individuals diagnosed with diabetes mellitus, peripheral arterial disease, or peripheral neuropathy face severe risks from home pedicure tools. Diabetic neuropathy impairs sensory nerve endings in the feet. A person with loss of protective sensation cannot feel excessive filing friction, razor cuts, or thermal spikes from electric rollers.
Peripheral vascular disease also impairs capillary blood flow to the lower extremities. Even a microscopic scratch or torn nail fold struggles to heal normally. A minor nick can rapidly progress into a full-thickness diabetic foot ulcer. Bacteria then reach deeper tissue. That causes cellulitis, deep abscesses, or bone infection (osteomyelitis). Diabetic foot ulceration remains a leading factor in lower-extremity amputations. If you have diabetes or numb feet, avoid rasps, electric grinders, and blades at home. Seek routine care from a licensed podiatrist.
Patients with Fitzpatrick skin types IV through VI must also exercise caution with aggressive metal rasps. Deeper skin tones contain highly reactive melanocytes. Aggressive physical friction, vigorous scraping, or thermal heat triggers basal layer inflammation. Melanocytes release excess pigment that drops into the dermis, where macrophages trap it. This process creates stubborn dark patches known as post-inflammatory hyperpigmentation (PIH). If you have deeper skin tones, avoid harsh cheese-grater files. Choose fine-grit nano-glass files, light pressure, and daily 20% urea cream to soften calluses chemically without mechanical trauma.
Frequently Asked Questions
How to get rid of calluses on feet?
To get rid of calluses on feet safely, combine gentle physical filing with daily keratolytic hydration. First, soak feet in lukewarm water for 10 minutes to soften rigid keratin. Pat skin dry until it is towel-damp. Use a medium-grit foot file (120 to 180 grit) or an electric callus roller in gentle, single-direction strokes. Never use razor blades or corn planes, which cause deep cuts and bacterial infections. After filing, apply a foot cream with 20% to 40% urea daily to dissolve dead cell bonds chemically. Wear supportive shoes with cushioned insoles to redistribute walking pressure.
What is a pedicure?
A pedicure is a therapeutic grooming and hygiene treatment for the feet, soles, and toenails. The term derives from the Latin words pes (foot) and cura (care). A standard clinical pedicure includes cleansing feet, buffing heel calluses, and trimming toenails straight across. It also involves clearing dead cuticle from the nail plate and applying lipid moisturizers. Pedicures support personal hygiene, prevent painful ingrown toenails, and maintain skin barrier integrity.
What is a callus?
A callus (clinically termed a tyloma) is a broad plaque of thickened skin. It develops on the stratum corneum, the outermost epidermal layer. Calluses form as a physiological defense mechanism in response to chronic friction, shear stress, and downward pressure during walking. In response to friction, basal keratinocytes divide rapidly and produce dense keratin, delaying natural desquamation. Calluses differ from corns: calluses are broad and flat, while corns are cone-shaped plugs that press into internal nerves.
How to remove calluses?
Remove calluses using gradual physical reduction followed by chemical keratolytics. Soak feet in warm water for 10 minutes to hydrate dense keratin, then towel-dry until damp. Buff thickened heel areas with a dual-grit stainless steel file or rotary mineral roller using light, sweeping passes. Stop filing as soon as the yellow crust softens and skin turns light pink. Never file down to raw, painful tissue. Finish by massaging 20% to 40% urea cream into the heel each night to break down residual dead keratin without friction.
How long does a pedicure take?
A thorough at-home pedicure takes approximately 30 to 45 minutes. Allocate 10 minutes for soaking feet in lukewarm water to soften tissue without causing maceration. Spend 5 to 10 minutes filing calluses on towel-damp skin and applying a foot scrub. Devote 10 to 15 minutes to trimming toenails straight across, smoothing edges with an emery file, and pushing back dead cuticles. Conclude with 5 minutes of barrier moisturizing and gentle massage.
What is a medical pedicure?
A medical pedicure (or medi-pedi) is a specialized clinical foot treatment. A licensed podiatrist performs it in a sterile environment. Unlike cosmetic salon pedicures, medical pedicures are typically performed waterless (dry) to prevent skin maceration and maintain clear visual boundaries. Clinicians use autoclave-sterilized surgical instruments and rotary diamond burrs with dust extractors. This setup debrides calluses and removes corns without waterborne infection risks.
How to exfoliate feet?
Exfoliate feet safely by combining physical tools on thick soles with chemical exfoliants on delicate areas. Use an abrasive stainless steel rasp or etched glass file on callused heels and metatarsals while skin is towel-damp. Use granular scrubs containing sugar or milled pumice exclusively on thin dorsal skin and ankles. Daily, apply chemical keratolytics like 20% urea, lactic acid, or ammonium lactate. These compounds dissolve intercellular desmosomes, shedding dead skin without mechanical abrasion.
Editorial Sources
- Al Aboud AM, Yarrarapu SNS. (2020; updated 2023). “Corns.” statPearls [Internet]. Treasure Island (FL): StatPearls Publishing. Bookshelf ID: NBK470374. PMID: 29262147.
- Armstrong DG, Boulton AJM, Bus SA. (2017). “Diabetic foot ulcers and their recurrence.” new England Journal of Medicine, 376(24):2367–2375. PMID: 28614678. DOI: 10.1056/NEJMra1615439.
- Baran R, Moulin G. (1999). “The bidet nail: a French variant of the worn-down nail syndrome.” british Journal of Dermatology, 140(4):769. PMID: 10233252. DOI: 10.1046/j.1365-2133.1999.02692.x.
- Brahs AB, Bolla SR. (2023). “Histology, Nail.” statPearls [Internet]. Treasure Island (FL): StatPearls Publishing. Bookshelf ID: NBK539733. PMID: 30969555.
- Chabchoub I, Litaiem N. (2020; updated 2023). “Ingrown Toenails.” statPearls [Internet]. Treasure Island (FL): StatPearls Publishing. Bookshelf ID: NBK546697. PMID: 31536303.
- Chaowattanapanit S, Silpa-Archa N, Kohli I, Lim HW, Hamzavi I. (2017). “Postinflammatory hyperpigmentation: A full overview: Epidemiology, pathogenesis, clinical presentation, and noninvasive assessment technique.” journal of the American Academy of Dermatology, 77(4):593–605. PMID: 28917451. DOI: 10.1016/j.jaad.2017.01.035.
- Cua TL, Wilhelm KP, Maibach HI. (1990). “Frictional properties of human skin: relation to age, sex and anatomical region, stratum corneum hydration and transepidermal water loss.” british Journal of Dermatology, 123(4):473–479. PMID: 2095179. DOI: 10.1111/j.1365-2133.1990.tb01452.x.
- Elkhyat A, Courderot-Mascaray C, Gerritsen M, Cristol B, Agache P, Humbert P. (2003). “Friction coefficient of skin in real-time.” skin Research and Technology, 9(4):320–323. PMID: 12877684. DOI: 10.1034/j.1600-0846.2003.20361.x.
- Yousef H, Alhajj M, Fakoya AO. Anatomy, Skin (Integument), Epidermis. StatPearls [Internet]. Treasure Island (FL): StatPearls Publishing; 2026. Bookshelf ID: NBK470464. PMID: 29262154.
- Landorf KB, Morrow AD, Spink MJ, et al. (2013). “Effectiveness of scalpel debridement for painful plantar calluses in older people: a randomized trial.” trials, 14:243. PMID: 23915078. DOI: 10.1186/1745-6215-14-243.
- Macneal P, Milroy C. (2020; updated 2023). “Paronychia Drainage.” statPearls [Internet]. Treasure Island (FL): StatPearls Publishing. Bookshelf ID: NBK559146. PMID: 32644572.
- Moritz AR, Henriques FC. (1947). “Studies of thermal injury: II. The relative importance of time and surface temperature in the causation of cutaneous burns.” american Journal of Pathology, 23(5):695–720. PMID: 19970955.
- Piquero-Casals J, Morgado-Carrasco D, Granger C, Trullàs C, Jesús-Silva A, Krutmann J. (2021). “Urea in dermatology: A review of its emollient, moisturizing, keratolytic, skin barrier enhancing and antimicrobial properties.” dermatology and Therapy, 11(6):1905–1915. PMID: 34596890. DOI: 10.1007/s13555-021-00611-y.
- Rutala WA, Weber DJ; Healthcare Infection Control Practices Advisory Committee (HICPAC). (2008; updated 2019). Guideline for Disinfection and Sterilization in Healthcare Facilities. Centers for Disease Control and Prevention (CDC). Atlanta, GA.
- Singh D, Bentley G, Trevino SG. (1996). “Callosities, corns, and calluses.” british Medical Journal, 312(7043):1403–1406. PMID: 8646101. DOI: 10.1136/bmj.312.7043.1403a.
- Vugia DJ, Jang Y, Zizek C, et al. (2005). “Mycobacteria in nail salon whirlpool footbaths, California.” emerging Infectious Diseases, 11(4):616–619. PMID: 15829204. DOI: 10.3201/eid1104.040936.
- Winthrop KL, Abrams M, Balajee SA, et al. (2002). “An outbreak of mycobacterial furunculosis associated with footbaths at a nail salon.” new England Journal of Medicine, 346(18):1366–1371. PMID: 11986410. DOI: 10.1056/NEJMoa012643.
- Young MJ, Cavanagh PR, Thomas G, Johnson MM, Murray H, Boulton AJ. (1992). “The effect of callus removal on dynamic plantar foot pressures in diabetic patients.” diabetic Medicine, 9(1):55–57. PMID: 1551311. DOI: 10.1111/j.1464-5491.1992.tb01714.x.